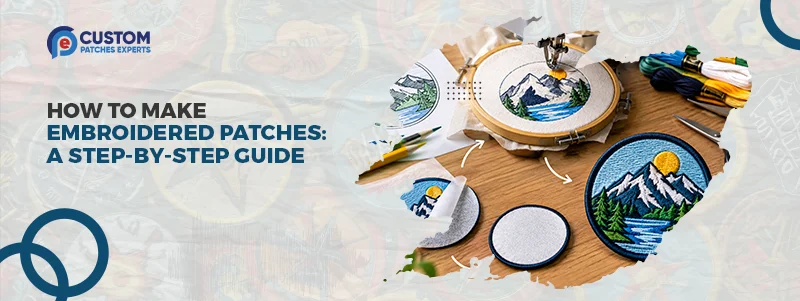
How To Make Embroidered Patches: A Step-by-Step Guide
Want to turn your logo or artwork into a custom patch? Embroidered patches are a simple way to add personality to jackets, hats, bags, and uniforms.
With the right tools and a clear design, you can make one at home. This guide covers the simple steps, materials, and tips you need to create a clean embroidered patch.
Order Your Custom Patch Now!
What Are Embroidered Patches?
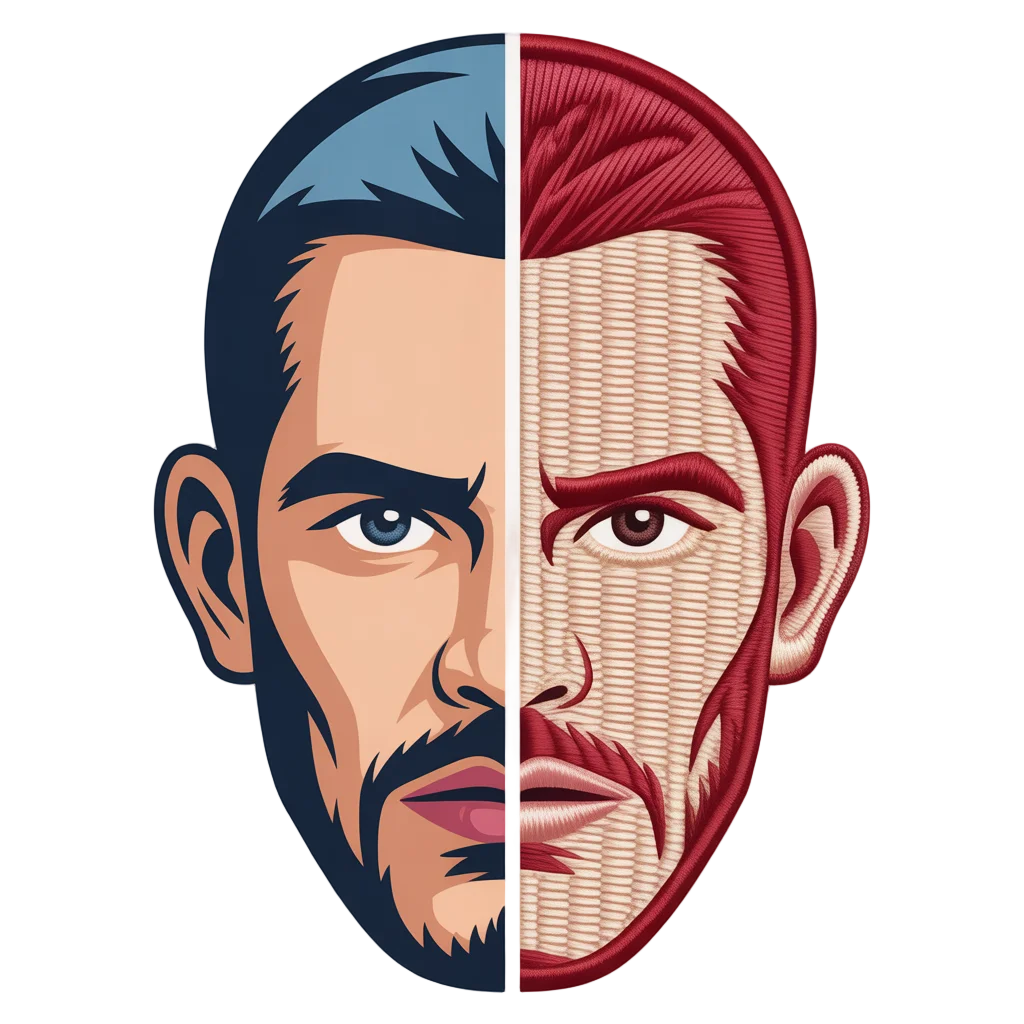
Embroidered patches are fabric patches created with thread stitched onto a backing material. The stitching gives an enhancing look, while the backing helps the patch keep its shape.
An embroidered border is added outside the edge. These patches are popular because they are perfect for clothing, sports teams, clubs, uniforms, businesses, and personal projects.
What Do You Need to Make an Embroidered Patch?
Before you start, gather the basic supplies. You may need an embroidery machine, embroidery thread, fabric, stabilizer, scissors, an embroidery hoop, and an iron. You will also need your artwork or design.
If you are making patches by hand, you can use an embroidery needle instead of a machine. However, machine embroidery is usually faster and gives more even stitching. For professional-looking patches, a suitable patch backing and clean border are also important.
Step 01: Create Your Patch Design
Start with a clear design. Your artwork can include a logo, text, symbol, image, or combination of these elements. Keep the design simple if you are new to embroidery. If you want a classic stitched look with texture, consider embroidered patches.
Very small text and tiny details can be difficult to stitch. Thick lines and clear shapes usually produce better results. Think about the final size of your patch before preparing the artwork. A design that looks good on a large screen may need changes when reduced to patch size.
Step 02: Choose Your Patch Size and Shape
Next, decide how large you want your patch to be. Common shapes include circles, squares, rectangles, shields, and custom shapes.
The size should match the item where you plan to use the patch. A small patch may work well on a hat, while a larger design may suit a jacket or backpack.
Also consider the amount of text in your design. More space may be needed if your patch includes names or detailed wording.
Step 03: Select Your Fabric and Backing
Choose a suitable base fabric for your patch. Cotton, twill, felt, and other fabrics can be used for embroidered patches, depending on the design and production method. You will also need stabilizer or backing to help the fabric stay firm during embroidery.
The backing can also affect how the patch is attached later. Common options include iron-on, sew-on, adhesive, and hook-and-loop backing. Choose the backing based on how and where the patch will be used.
Step 04: Prepare the Embroidery Machine
If you are using an embroidery machine, load your design into the correct file format. Your machine must be able to read the embroidery file you are using. Place the fabric and stabilizer into the embroidery hoop.
Keep the material flat and secure. If the fabric moves during stitching, the design may become uneven. Before starting the full patch, it is a good idea to test the design on a small piece of fabric. If you want detailed artwork with both print and stitching, consider printed embroidered patches.
Step 05: Start Embroidering
Once everything is ready, begin stitching the design. The machine will follow the embroidery file and build the artwork with thread. Watch the first few minutes carefully. Check that the thread is feeding correctly and that the design is staying in position.
If you notice loose thread, broken stitches, or other problems, stop the machine and fix them before continuing. For a clean patch, the stitches should be even and the design should remain clear.
Step 06: Add the Border
A strong border gives the patch a finished appearance. Many embroidered patches use a satin stitch border around the outside. It covers the edge of the fabric and helps create a clean shape.
The border can also make the patch easier to cut and finish. Choose a border color that works well with your main design. Strong contrast can help the patch look clearer.
Step 07: Cut and Finish the Patch
After the embroidery is complete, remove the patch from the hoop. Trim away extra fabric around the design. Be careful not to cut through the stitches. If your patch has a stitched border, cut close to the outside edge while keeping the border intact.
Check the front and back of the patch for loose threads. Trim any unwanted threads carefully. At this stage, your patch should have a clean shape and secure stitching. If you want fine details and smooth lettering, consider woven patches.
Need Help To Create Custom Patch
Right Now!
Step 08: Add the Backing
The next step is adding the backing. For an iron-on patch, a heat-activated adhesive backing can be added. This allows the patch to be attached using heat. A sew-on patch does not need adhesive.
It can be stitched directly onto the clothing or fabric. Hook-and-loop backing is another option for uniforms, bags, and items where you want to remove or replace the patch. Choose the backing based on how often the patch will be used and washed.
Tips for Better Embroidered Patches
- Keep your design simple: Use clear artwork that is easy to read and stitch.
- Avoid tiny details: Small text and fine details may not look clear on smaller patches.
- Choose strong color contrast: Use thread colors that make your logo, text, and design easy to see.
- Test your design: Make a sample patch before placing a large order to check the size, colors, and stitching.
- Prepare artwork properly: Good artwork can save time and help prevent production issues.
Can You Make Embroidered Patches at Home?
Yes, you can make embroidered patches at home if you have the right equipment. Hand embroidery can work for simple designs, but it takes more time. An embroidery machine can make the process faster and produce consistent stitching.
However, making a large number of patches can require more time, materials, and equipment. If you need patches for a business, team, event, uniform, or large order, working with a professional patch company may be more practical.
Conclusion
Making embroidered patches involves more than simply stitching a design onto fabric. You need clear artwork, suitable materials, the right backing, and careful finishing to get a clean result.
Simple designs can be made at home with basic embroidery tools. For large orders or professional use, custom patch production can save time and provide consistent results. If you need quality embroidered patches for your business, team, uniforms, clothing, or event, Custom Patches Experts can help..
CATEGORIES
RECENT POSTS
Get A Custom Quote
Frequently Asked Questions
You need fabric, embroidery thread, stabilizer, an embroidery machine or needle, scissors, and suitable backing.
Yes. You can make simple patches at home with hand embroidery or an embroidery machine.
Twill, felt, and other sturdy fabrics can work well for embroidered patches, depending on the design.
Yes. A logo can be converted into an embroidery design and stitched onto a custom patch.
You need to add heat-activated adhesive backing to the finished embroidered patch.
Carefully trim the extra fabric around the stitched border without cutting the embroidery.
Iron-on, sew-on, adhesive, and hook-and-loop backings are common options.
Yes, but very small text can be hard to read. Larger, simple lettering usually gives better results.
The time depends on the design, patch size, quantity, and production method.
You can contact Custom Patches Experts for quality custom embroidered patches, fast turnaround, and a free quote.
Testimonials
Jason Miller
I was impressed that everything was smooth. I received my proof the same day.
Amanda Rodriguez
The staff was very friendly to work with. Helped me adjust my design.
Chris Thompson
Pricing was the most affordable. Great quality for the price.
Michael Harris
I needed my custom patches urgently. Delivered on time as promised.
Danielle Brooks
I really appreciate their customer service. Very professional team.
Kevin Walker
The delivery time was better than expected. Well packed patches.
Rachel Carter
Clear communication. Pricing was fair and quality was beyond expectations.
Brandon Lee
My team ordered in bulk, and everything was perfect. Highly recommended.