How To Make Custom Embroidered Patches?
Custom embroidered patches have been popular for many years. They add style, identity, and professionalism to clothing, uniforms, bags, hats, and more. Businesses use them for branding. Sports teams use them to show team pride. Military groups, schools, clubs, and organizations use patches to show their identity.
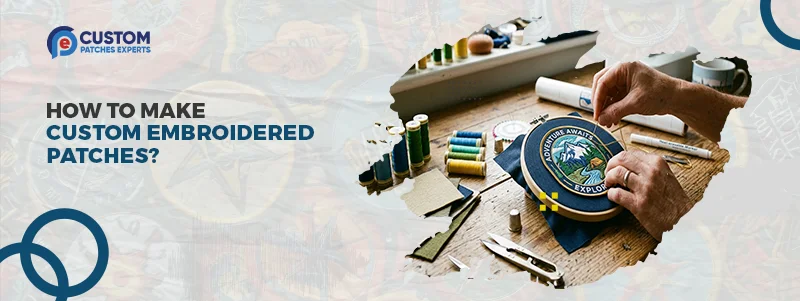
Many people wonder how manufacturers make custom embroidered patches. At first, the process may seem complex. But it becomes easier to grasp when you break it down into simple steps. Every stage, from design to attaching the finished patch, is vital for the final product. In this guide, you will discover how we make custom embroidered patches. You’ll find out what materials you need.
What Are Custom Embroidered Patches?
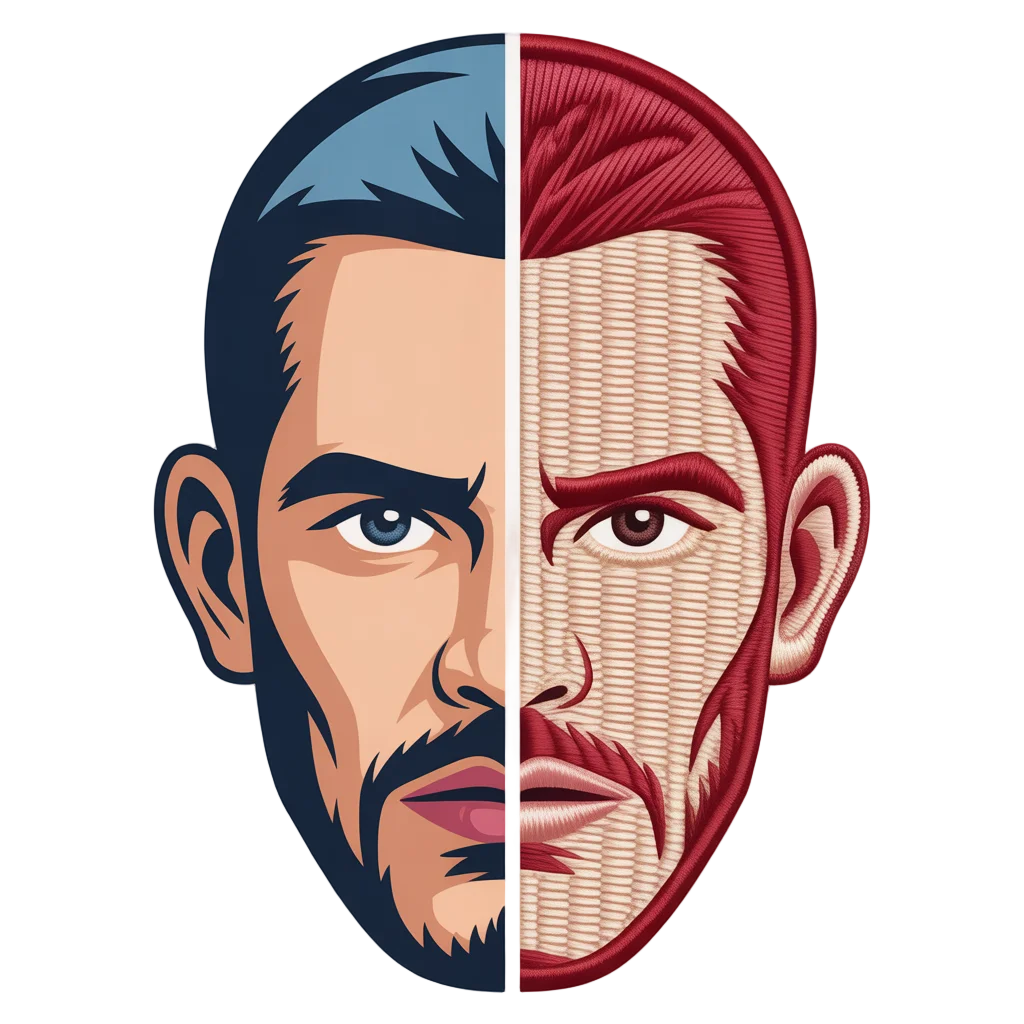
Embroidered patches are pieces of fabric with designs stitched onto them using threads. These patches can display logos, names, emblems, mascots, badges, and art. Different backing methods are used to secure patches onto other clothing items. If you want eye-catching designs with extra sparkle, consider our custom sequin patches. The embroidery process creates patches with a unique texture and appearance. They are popular with:
- businesses
- schools
- sports teams
- motorcycle clubs
- military groups
- fashion brands
Stitching quality matters a lot. It affects how the final product looks and how long it lasts.
Step 01: Create Your Patch Design
Every embroidered patch starts with a design. This design can be a company logo, team emblem, artwork, or custom message. The design should be clear and easy to read. Small details may need adjustments because embroidery uses thread rather than ink. Simple shapes and bold lines often produce the best results.
Many customers provide their artwork in digital formats such as PNG, JPG, PDF, AI, or EPS files. If you don’t have artwork ready, patch companies can help make or tidy up your design before production starts. A strong design is the foundation of a great patch.
Order Your Custom Patch Now!
Step 02: Convert the Artwork into a Digitized File
Before embroidery machines can stitch a patch, the artwork needs to be changed into a digitized embroidery file. This process is called embroidery digitizing. A digitizer uses specialized software to map out every stitch in the design. The software tells the embroidery machine where to place stitches, which thread colors to use, and how dense the stitching should be.
Digitizing is one of the most important parts of patch production. Even a great design can look poor if the digitizing is not done correctly. Experienced digitizers know how to create smooth stitching, clean edges, and accurate details. If you want a modern look with raised details and durability, consider our custom 3D silicone patches.
Step 03: Select the Patch Fabric
The next step is choosing the base fabric for the patch. Twill fabric is one of the most common choices because it is strong, durable, and works well with embroidery. Felt is another option that provides a softer appearance.
The fabric color should complement the thread colors used in the design. Choosing the right background color helps important design elements stand out. The fabric also affects the overall look and feel of the finished patch.
Step 04: Choose Thread Colors
Thread color selection is important because it brings the design to life. Professional patch manufacturers provide many thread colors to match logos and artwork precisely. Bright colors give a striking look, but neutral shades offer a classic style.
Good-quality embroidery thread keeps its color for a long time. It also resists fading from regular use and washing. Using premium thread materials ensures the patch continues looking sharp for years.
Step 05: Embroider the Design
Once the design is digitized and materials are selected, production begins. The fabric is placed inside an embroidery machine. The machine reads the digital file and expertly stitches the design onto the fabric. If your design has fine details, gradients, or multiple colors, consider our custom printed patches.
Modern embroidery machines can create detailed designs quickly while maintaining consistent quality. During this process, thousands of stitches may be placed to complete a single patch. The embroidery stage changes the design from digital art to a real patch. Quality control during this stage is essential to ensure clean stitching and accurate details.
Step 06: Cut the Patch Shape
After embroidery is complete, the patch must be cut into its final shape. Some patches are simple circles, squares, or rectangles. Others have custom shapes that follow the design outline.
Manufacturers use different cutting methods depending on the patch style and complexity. Precise cutting gives a clean look and helps the patch stay professional. A poorly cut patch can lower the overall quality, even if the embroidery looks great.
Step 07: Add the Border
Most embroidered patches include a border around the edges. The border helps protect the patch from fraying while creating a polished finish. Merrow borders are commonly used for traditional patch shapes. These thick stitched edges provide durability and a classic appearance.
For custom-shaped patches, laser-cut borders may be used instead. This option allows greater flexibility when creating unique patch designs. The border not only improves durability but also adds to the overall visual appeal.
Step 08: Apply the Backing
The backing determines how the patch will be attached to a garment or item. There are several backing options available depending on the intended use. Iron-on backing allows patches to be attached using heat. This option is popular because it is easy to apply. Sew-on backing gives a strong, lasting hold and is often used for uniforms and workwear.
Velcro backing works well for military, tactical, and law enforcement uses. This is because patches can be easily removed and replaced. Adhesive backing provides a temporary solution for short-term use. Selecting the right backing helps ensure the patch performs as expected.
Need Help To Create Custom Patch
Right Now!
Step 09: Inspect the Finished Patch
Quality inspection is one of the final steps in patch production.
Check each patch for:
- Thread quality
- Colour accuracy
- Stitching consistency
- Border strength
- Overall appearance
Professional manufacturers carefully review patches before shipping them to customers. This extra attention cuts down on errors. It also makes sure customers get products that meet their expectations.
Tips for Creating Better Custom Embroidered Patches
- Keep artwork simple and clear.
- Use bold shapes and large text.
- Choose contrasting thread colors.
- Select the right backing option.
- Use sew-on backing for uniforms.
- Choose iron-on backing for easy use.
- Review your proof before production.
- Make changes before manufacturing starts.
- Work with a trusted patch supplier.
- Focus on quality and fast response rate.
Order High-Quality Custom Embroidered Patches
Making custom embroidered patches involves key steps: design, digitizing, stitching, cutting, and finishing. Each stage contributes to the quality and appearance of the final product. Choosing the right manufacturer is important. This is for you if you need patches for a business, sports team, school, motorcycle club, military unit, or clothing brand.
At Custom Patches Experts, we provide top-notch custom embroidered patches. Our prices are competitive, and we ensure quick turnaround times. Plus, you’ll get professional support every step of the way. Ready to create your custom embroidered patches? Contact us for a free quote. It’s easy to get patches made just how you want.
CATEGORIES
RECENT POSTS
Get A Custom Quote
Frequently Asked Questions
Custom embroidered patches are made by digitizing a design, stitching it onto fabric, adding a border, and applying a backing.
Twill fabric is the most popular choice because it is durable, smooth, and ideal for embroidery.
Yes, you can submit your logo, artwork, or idea to create a fully custom embroidered patch.
Common options include iron-on, sew-on, Velcro, and adhesive backing.
Production times vary, but most custom embroidered patch orders are completed within a few business days.
Yes, high-quality embroidered patches are designed to withstand regular wear and washing.
Most manufacturers accept PNG, JPG, PDF, AI, EPS, and other common design formats.
Yes, embroidered patches can be produced in almost any shape to match your design.
Embroidery digitizing converts artwork into a stitch file that embroidery machines can read and sew.
They are commonly used on uniforms, hats, jackets, backpacks, sportswear, and promotional products.
Testimonials
Jason Miller
I was impressed that everything was smooth. I received my proof the same day.
Amanda Rodriguez
The staff was very friendly to work with. Helped me adjust my design.
Chris Thompson
Pricing was the most affordable. Great quality for the price.
Michael Harris
I needed my custom patches urgently. Delivered on time as promised.
Danielle Brooks
I really appreciate their customer service. Very professional team.
Kevin Walker
The delivery time was better than expected. Well packed patches.
Rachel Carter
Clear communication. Pricing was fair and quality was beyond expectations.
Brandon Lee
My team ordered in bulk, and everything was perfect. Highly recommended.